


Payoneer Now Integrated with Envoice
When you’re working for yourself, successful time management is crucial. Wasting too much time on the lateral tasks and not on your actual work can make freelancing more complicated than it needs to be.
The global freelance community is growing at a staggering rate, and technology is catching up. There are many tools at the freelancer’s disposal to make the tasks of client management, marketing and finances as seamless and pain-free as possible. Perhaps, no tool is more important to the freelancers than a tool that helps them bill clients and track payments.
Introducing: Envoice.
Envoice is a user-friendly invoicing platform that is designed specifically for freelancers. Powered by Emit Knowledge, Envoice is a powerful app that helps both freelancers and their clients manage payments. Invoices are easy to build and send, and the end result is a professional product.
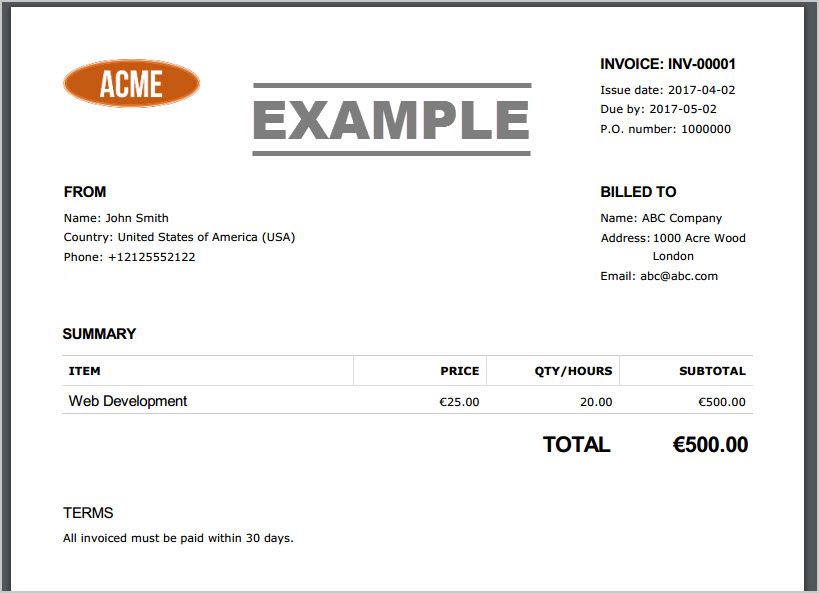 Invoice example created with Envoice
In addition to the easy creation of the invoice, freelancers can:
- Know when clients interact with the invoice – via tracking issued invoices
- Set automatic email and text message reminder for both the sender and the clients for due invoices
- Attach logged hours, agreements or any additional files with the invoice, uploaded from Dropbox or Google Drive
- Enjoy predictive invoicing – Envoice will set client and invoice number based on previous invoices
- Apply discounts on the invoice, when relevant
- Use PO numbers when issuing invoices for big companies
- Grow with the community, thanks to the community articles submitted by other freelancers
How do I set up my Payoneer account in Envoice?
It’s quite simple:
1. Log in to your Envoice account.
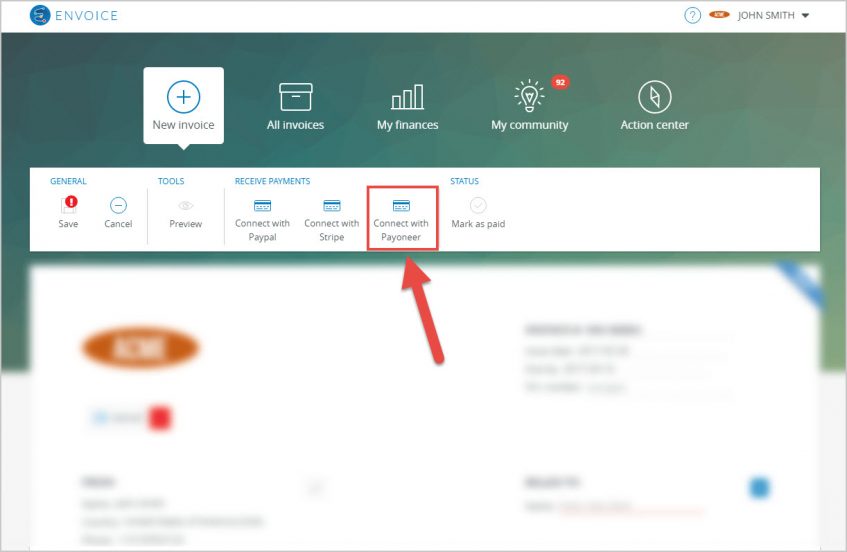
2. In the Receive Payments menu, select Connect with Payoneer.
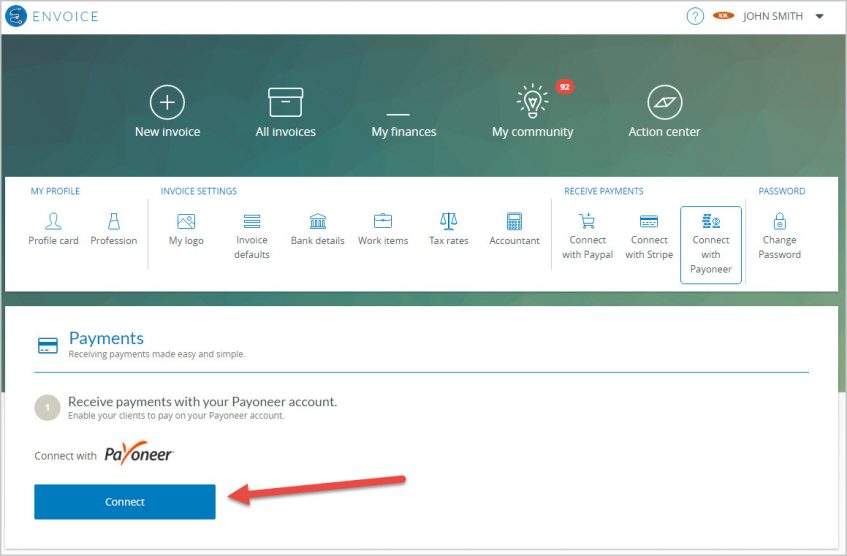
3. A new tab will open in your browser. Click on Connect.
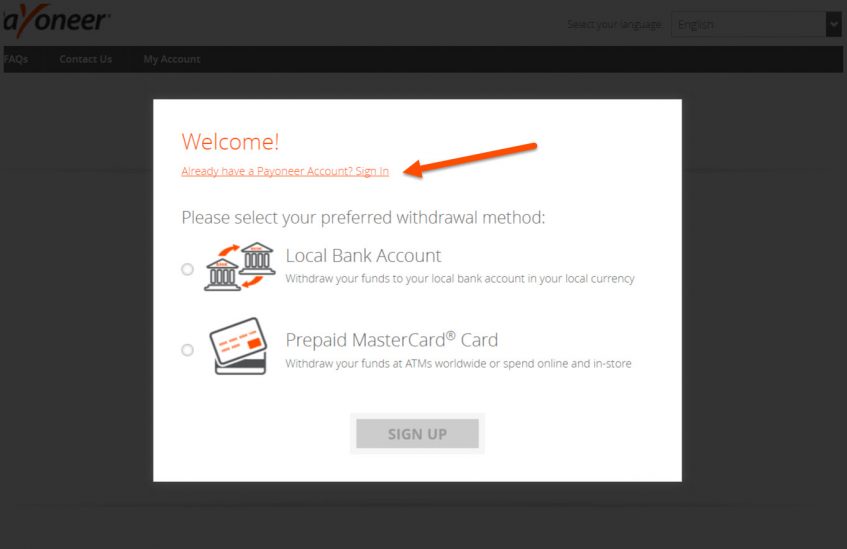
4. You will now be redirected to a Payoneer sign-up page. If you already have a Payoneer account, click on the link to sign in. If not, complete the sign-up process by selecting your preferred withdrawal method and clicking on ‘SIGN UP’.
5. Once your Payoneer account is paired, the icon in Receive Payments will become On Payoneer. Click on the slider to activate this pairing.
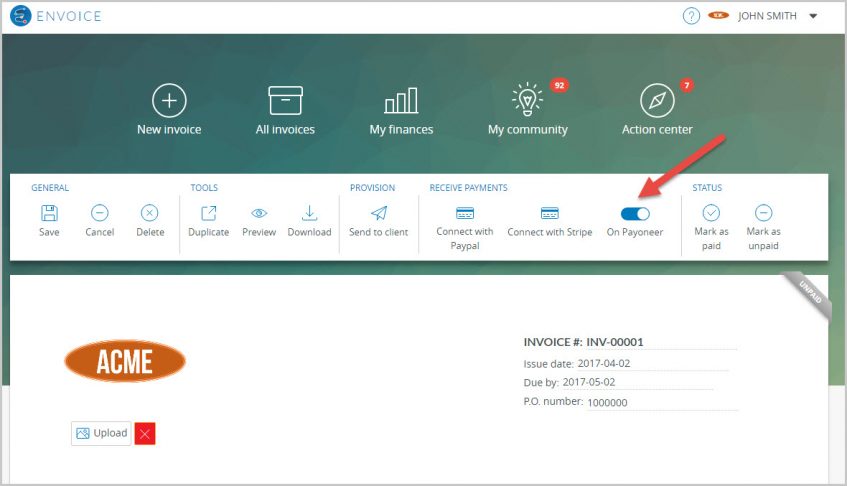
In addition, at the bottom of a created invoice, you will be able to choose Payoneer as your payment type.
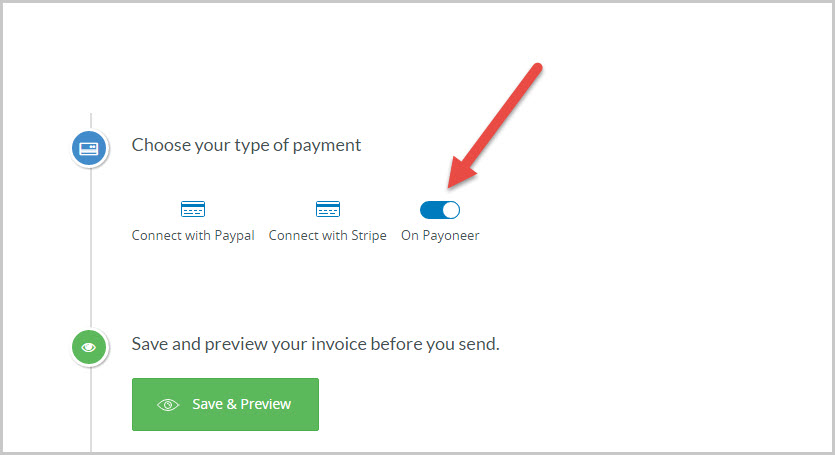
Send your invoice to your client, and you’re good to go!
How will it look for my client?
When you send your client the invoice, they will be prompted to Pay with Payoneer, right from the invoice.

Once your client clicks on Pay with Payoneer, they will then have several options for payment. Once payment is complete, the funds will be received directly into your linked Payoneer account.
To get detailed info on linking your accounts, check out Envoice’s full guide here.