


How to Launch a Product in 100 Days: Part 1
Editor’s Note: This is Part 1 of a guest post written by Zack Leonard, President and Founder at Gembah.
With the chaos affecting the world right now, we must remember what makes us humans different. We are inherently creative and it’s what separates us from the rest of the living beings on Earth.
Decades ago, Commissioner of the US Patent Office, Charles H. Duell said “everything that can be invented has been invented”. Can you imagine a world where this was true? In the world of technology, we wouldn’t have cell phones, computers, or live streaming of entertainment. In the world of medicine, we wouldn’t have antibiotics, arthroscopic surgeries, or Magnetic Resonance Imaging (MRI).
Every day, brilliant minds are inventing new, innovative products that are essential to our lives. At Gembah, we try and demonstrate that product innovation can be simplified if you have a great team and a great process in place to drive results forward.
Let’s take a look at the team-building process and how Gembah utilizes this to get products launched in as little as three-to-six-months.
Step 1 – Research
In the world of Amazon FBA Sellers, picking the next great product to launch can be a lot like picking a stock. First, your goal should be to find the opportunity and size up your competition. Just like there are indicators of a company’s health (PE ratios, moving averages, and volatility), there are indicators for products sold on Amazon. Some of these indicators include search frequency rank and average conversion share by product position.

These two indicators are examples of data that can help you better understand the actual market size for a given product/keyword and what the market share per position is within that product/keyword. There are tools out there to help identify similar indicators: Helium 10, Jungle Scout, and Seller Tools.
Let the data from these tools, and these indicators help guide you on your way to finding the next great opportunity.
Step 2 – Assemble Your Design Team
After you have done the research and identified your product opportunity, you will need to understand what it takes to get your ideas into a manufacturing-ready specification. The product type will dictate your team’s makeup from a design and engineering perspective.
Below is a general guide as to the team you should assemble:
- Cut and Sew Product (think apparel and bags) – Industrial Designer
- Injection Molded Product (plastics, metals, and glassware) – Industrial Design + Mechanical Engineer
- Electronics – Industrial Designer + Mechanical Engineer + Electrical Engineer
Not only is the team assembly critical, but vetting that team is equally as important. You’ll want to ensure all team members have built and mass-produced a product similar to yours before. For example, if you are making a Kitchen Blow Torch, you’ll want to ensure your team has designed/engineered blow torches previously, and those blow torches are currently on the market.
Step 3 – Build Your Design
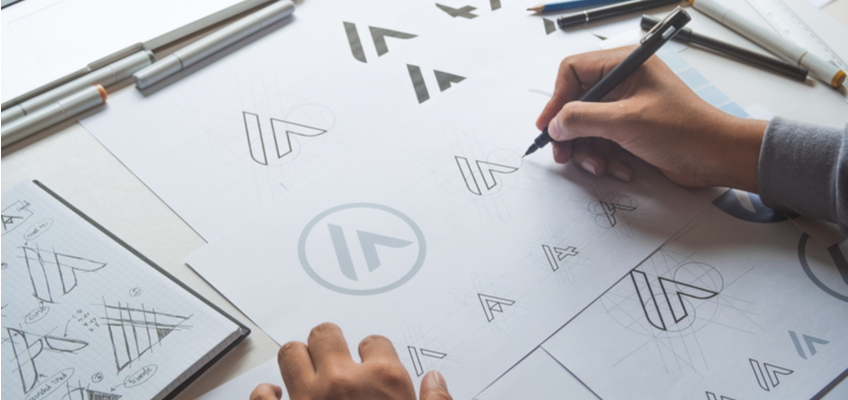
The most exciting part of the innovation process for us at Gembah is product creation. We take a three-step approach to the creation process: sketch, refine, and finalize. Each phase has a particular goal.
Sketch – During this phase, your industrial designer will be able to take your ideas and put them onto paper. This phase is where you let the creativity flow! You can also start collecting feedback from friends or even random audiences through websites like PickFu. This stage should include most of your product ideations and iterations. It’s much easier to make changes at this point before you get entrenched in the technical aspects of the design.
Refine – Once you have your final iteration of your idea in a sketch, you can start the 3D rendering and Computer-aided Design (CAD) versions of your creation. This stage is highly technical and will require an Industrial Designer or Mechanical Engineer.
Think of this process, like building the blueprint for a house. The process yields all of the following:
- Angles
- Features
- Materials to be used
- Customizations
All of this information helps the factory construct your product. A good factory will be able to take this information and build your product with a high degree of certainty.
Finalize – The final part of the process is to get your Tech Pack, Bill of Materials (BOM), and CAD files all into one central place to begin the factory bidding process. During this process, you can also test your product via different sampling methods: 3D printing, Computer Numerical Control (CNC), or even an actual physical sample from a small batch manufacturer.
Overall, these phases help you as the owner, work through two essential steps in the process:
- The physical specifications to have a professional conversation with any factory.
- The ability to continuously get feedback from audiences throughout this process to hone in on the final version of your idea.
As a bonus, you can also start the conversation with an Intellectual Property (IP) attorney or the United States Patent and Trademark Office (USPTO) about patenting your idea/design if you want to protect your IP.
Once you have all this in place, it’s time to find your factory partner, which we’ll discuss along with additional steps in the second part of this blog.
 Zack Leonard is the President and Founder of Gembah, where he has helped eCommerce Brands, Amazon Sellers and Promotional Products companies create new products that have sold for 7-Figures in Revenue. Zack lives in Austin, TX with his wife and two dogs. Zack was on the ground floor of the unicorn company Instacart – helping build the Texas markets from $0 to 7 Figures in weekly GMV prior to Gembah.