


How to add an Amazon Store to Store Manager
Marketplace sellers know that to succeed in today’s competitive marketplace, being efficient and laser-focused are critical. Managing one store to success takes some effort but managing multiple stores can begin to be challenging. With Payoneer’s Store Manager it’s now easier than ever to manage all your marketplaces in one centralized location from within your Payoneer account.
When you select Payoneer as your payment solution of choice your store is automatically added, but Amazon stores need to be added manually. Continue reading for the step-by-step instructions on how to add your Amazon stores to Store Manager.
How to add your store to Store Manager:
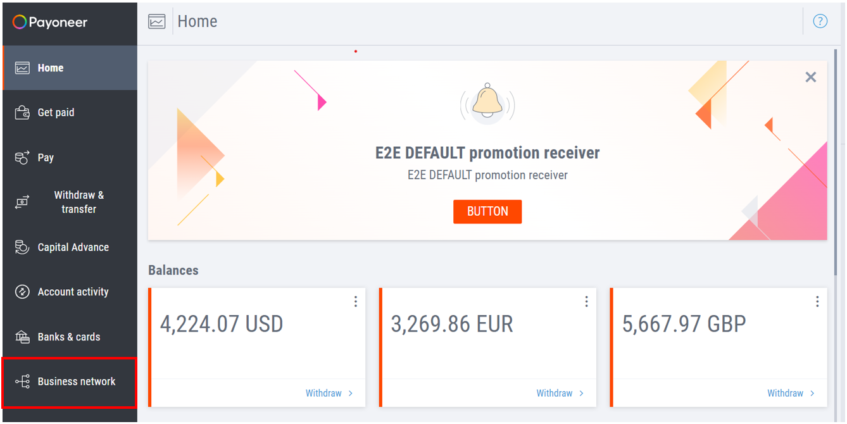
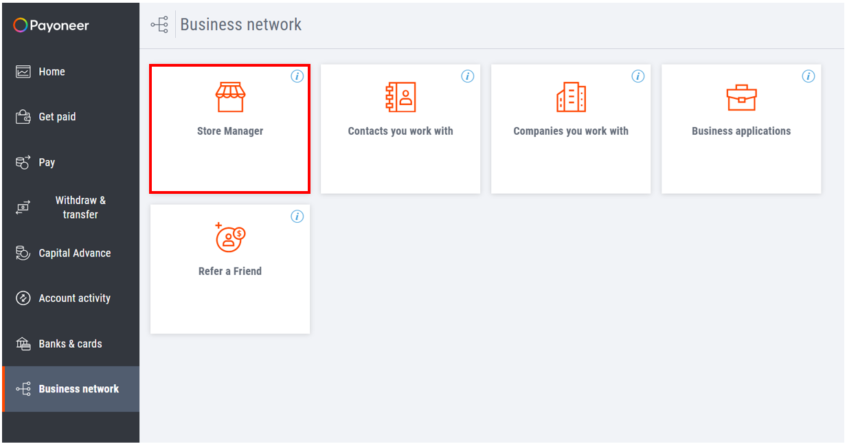
1. After signing in to your Payoneer account, go to Business Network > Store Manager.
Then click on Store Manager
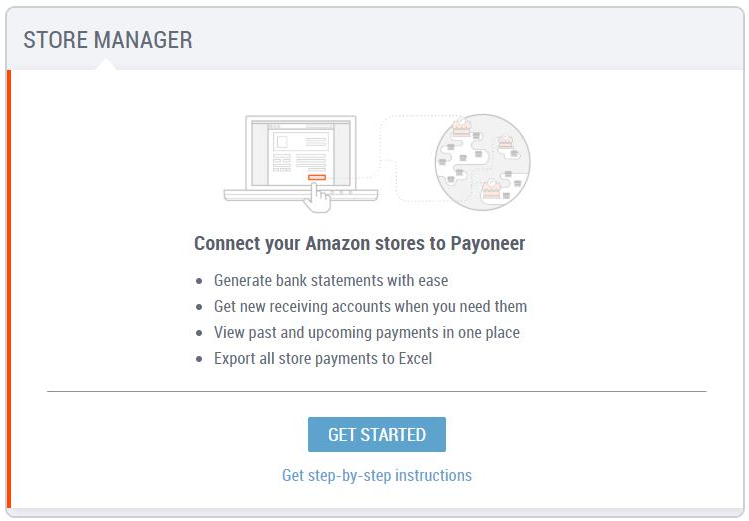
2. Click GET STARTED on the welcome page.
If you have connected at least one store, a list of your stores will be displayed. To add a new Amazon store, click ADD STORE.
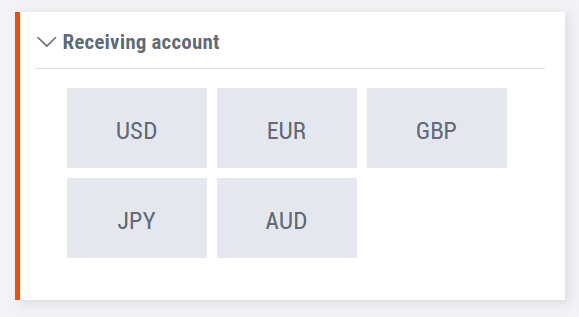
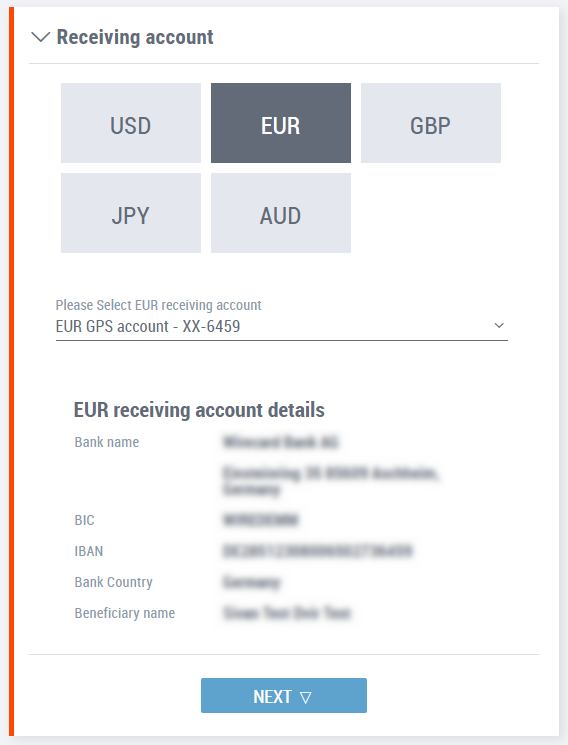
3. Select the currency in which you receive payments from this store.
4. Select the receiving account that is connected to this store and to which you receive payments from the store. Your receiving account details will be displayed on the page. Click Next.
5. You’re now ready to enter the details of your store.
a. Select the marketplace in which your store operates.
b. Type your store’s name.
c. Type the email address associated with your store.
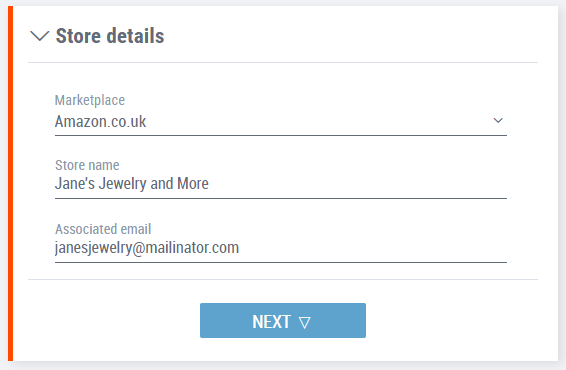
6. Click Next immediately below the store details.
7. If you require an account statement to provide to Amazon, provide the details for your store and click Next. Otherwise, click I don’t need an account statement.
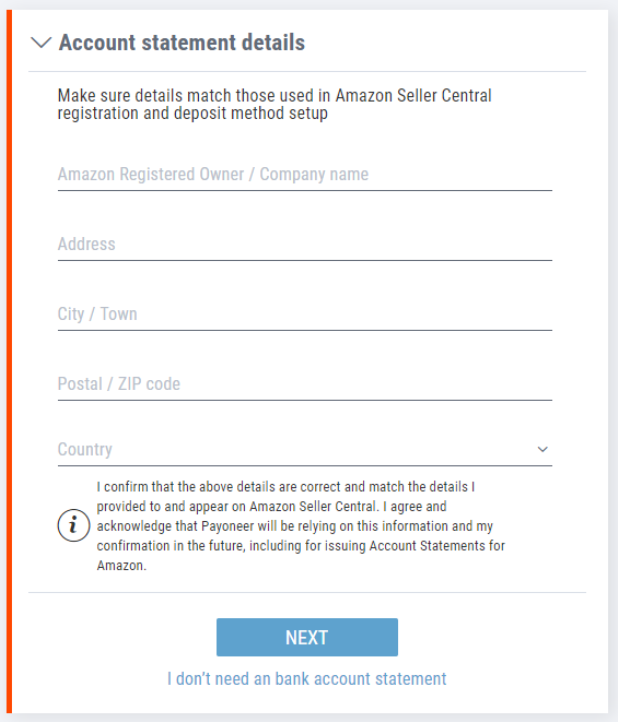
Note: Make sure the details you enter match those used in Amazon Seller Central registration.
8. You’re now ready to connect your store to Payoneer.
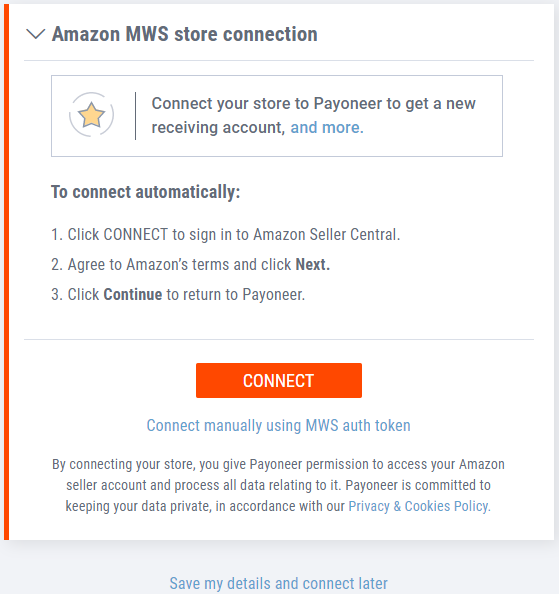
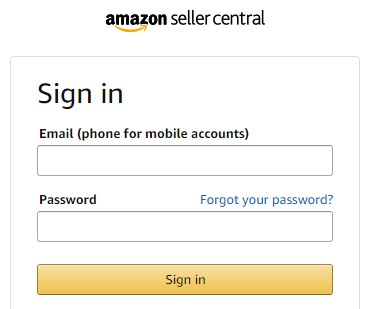
a.Click Connect to sign in to Amazon Seller Central.
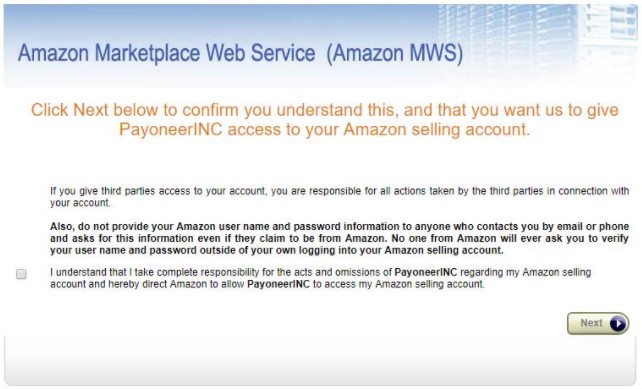
b. Agree to Amazon’s terms and click Next.
c. Click Continue to return to Payoneer.

Your store will now be connected to Payoneer in Store Manager. If you have more than one store to connect, follow the set-up steps again until all your stores are consolidated in Store Manager.
Note: You can save your store details and finish connecting the store to Payoneer at a later time. To do so, click Save my details and connect later. Until you connect your store you will not enjoy all the benefits of Store Manager.
Option to Connect Manually
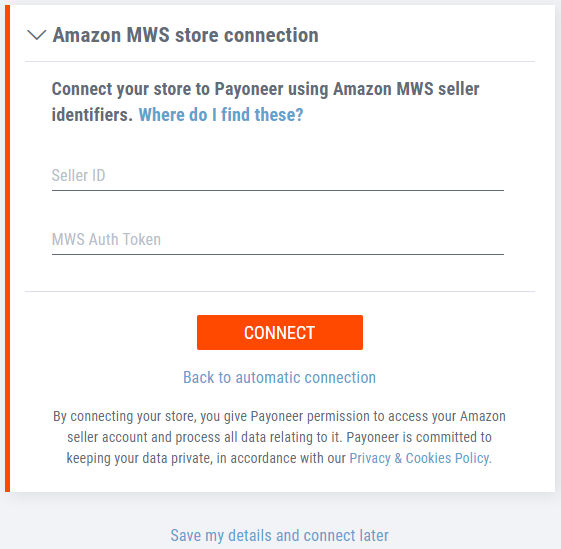
You can also choose to connect your store manually (click Connect manually using MWS auth token). To do so, you’ll need your MWS seller ID and authorization token. Click here to learn how to retrieve these for your store.
Manage your stores and download bank statements
After you’ve set up all your stores, use Store Manager to see all your marketplace activity in one central location.
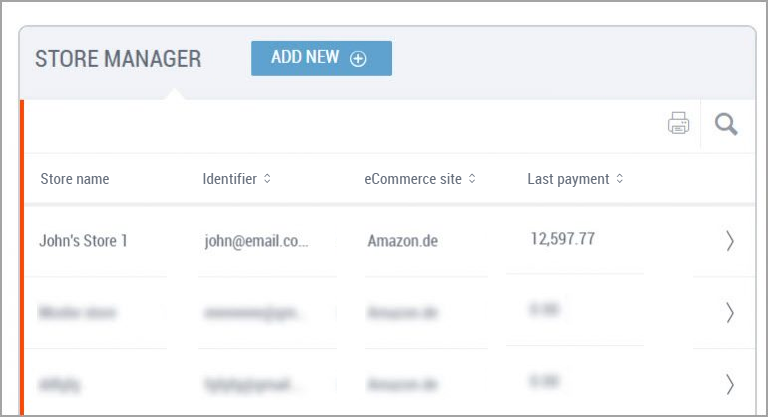
1. Click the store name to see store receiving account details and payment history:
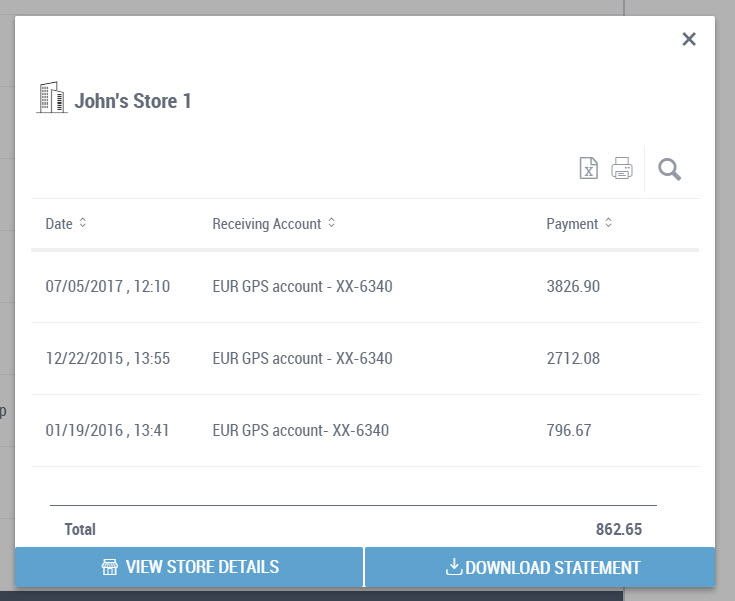
2. Need to do some number-crunching on your payments? Click![]() (located by the search bar) to export your payment details to Excel for more in-depth analysis.
(located by the search bar) to export your payment details to Excel for more in-depth analysis.
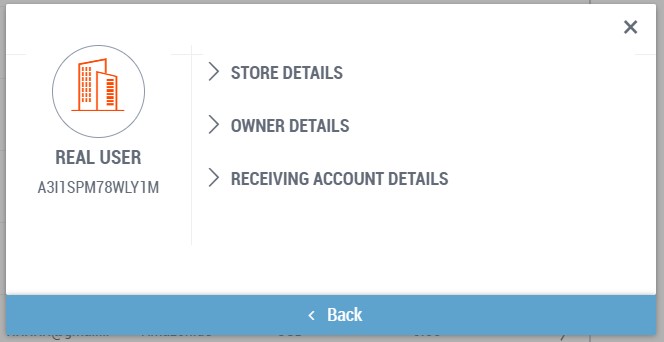
3. Click ![]() to view details about the store, the owner and the Payoneer receiving account linked to it.
to view details about the store, the owner and the Payoneer receiving account linked to it.
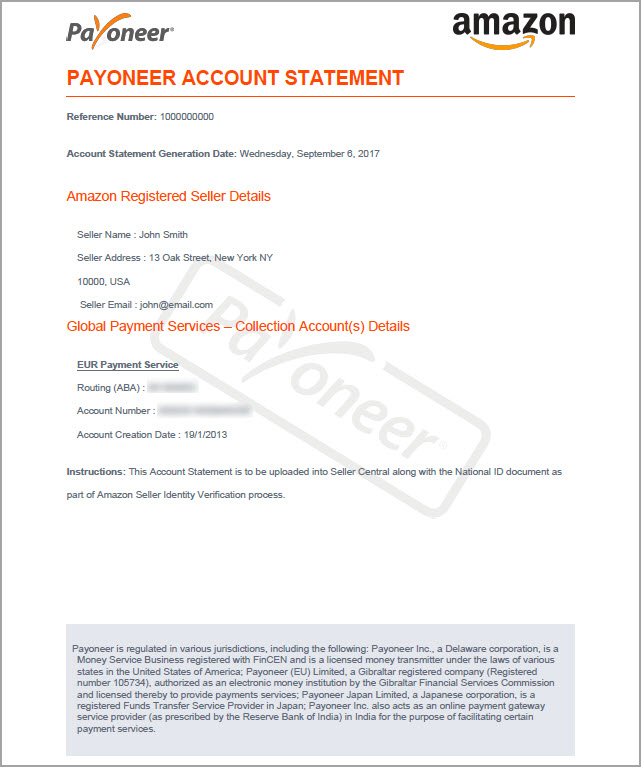
4. To get a bank statement for Amazon, simply click ![]() on the store details window. Download will start immediately. The bank statement will be downloaded in PDF format:
on the store details window. Download will start immediately. The bank statement will be downloaded in PDF format:
For more information, please read the FAQ in our Support Center.